
How to infuse herbs into oil: Hot and Cold Method
This post may contain affiliate links. We may earn a small commission from purchases made through them, at no additional cost to you.
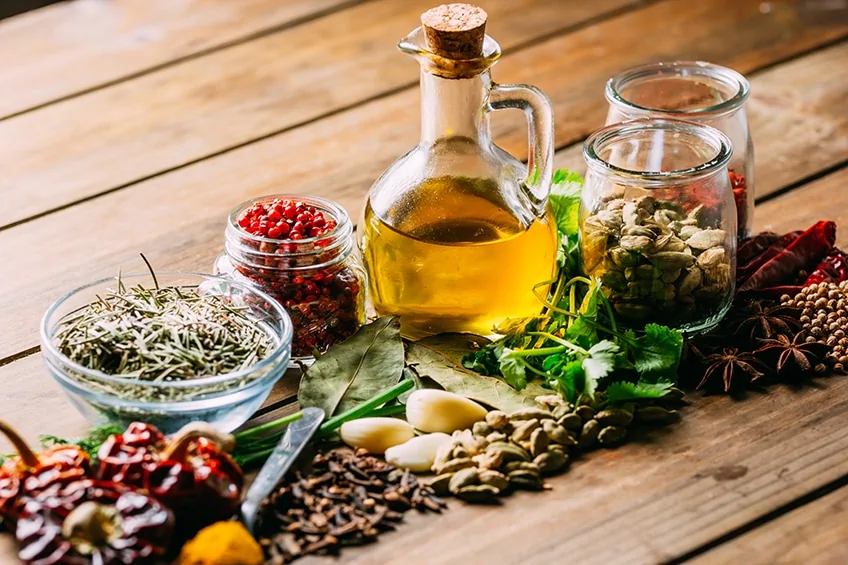
Once you have chosen the herbs and oils that are beneficial for the project you have in mind, it is time to infuse the herbs into the oils. How to infuse herbs into oil: Hot and Cold Method
There are two primary methods of infusing herbs into a fixed oil. The hot oil infusion method is quick and relatively painless, and the cold infusion method which takes 6-8 weeks. I have been taught that the cold infusion method is more medicinally beneficial, but after working with both cold and hot infused oils, I find each method has its own pro’s and con’s. I tend to tell my students to use the method that fits best for their lifestyle. I personally use low heat for the first 12 hours, then cap and seal the oils (as long as I am infusing a dry herb and not a fresh herb) and let it sit for an additional 4-6 weeks. The color and fragrance are both so rich when you do it this way that it has become my favorite. You can feel free to decide a favorite method for your self.
The cold infusion method is wonderful for both fresh and dried herbs. Dry herbs tend to make more potent oil and there is less of a chance of rancidity. Fresh herbs have a higher
water content, which can lead to rancid oil or mold issues, so special care should be taken when infusing fresh herbs in oil. I tend to usually work with dry herbs, but when herbs like St. John’s wort, arnica, and chickweed are in season I will definitely make some nice fresh infused oils with them.
Cold Infusion Step-By-Step Instructions
Ingredients:
- Fresh or dry herbs
- Oil of your choice
- 1 quart (or smaller) mason jar or pyrex bowl.
- Harvest your herbs during the cooler part of the day, from a clean place without pesticides, herbicides, or animal feces. Be sure they are dry. Do not rinse the herbs. OR – acquire the dry herbs and measure them out to take up about half of your glass infusion container.
- Place the fresh or dry herbs in a sterilized dry glass jar. I run mine through the sanitizing cycle in the dishwasher and make sure they are thoroughly clean and dry before putting the herbs in. If you are using fresh herbs, let the herbs wilt for 24 hours before placing them in the jar. Once they have wilted, fill the jar ¾ full with the fresh herb, chopped. Sanitize a rock or fermenting crock weight and place it on top of the herbs so they don’t float to the top when adding oil. If you are using dry herbs fill the jar approximately half way with the dry herb, cut and sifted.
- Cover the herbs completely with the carrier oil of choice.
- Use a wooden chopstick or something similar to push the herbs under the oil and release all the air bubbles. You may have to do this a few times during the first day. For fresh herbs: Some herbs will float to the top for the first week or two. Be sure to keep them completely submerged under the oil to reduce the risk of the oil going rancid or moldy. This may require a lot of poking at them but eventually they will sink below the oil line. For dry herbs: Put a lid on the jar and don’t worry about it.
- Top the jar completely with olive oil leaving about an inch of oil over your herb matter.
- If you are using dry herbs you can screw a lid on the jar and set it in a sunny window. If you are using fresh herbs place some cheesecloth or a coffee filter over the top of the jar and secure it with a rubber band. This will allow the water from the herbs to evaporate and escape from the oil, decreasing your chance for rancidity.
- Place your jars in a sunny, warm, but not too hot, location and allow the warmth and sun to aid in the infusion of the oils.
- Label the jars with the exact date you started them and let them infuse for 4-6 weeks. Fresh herbs shouldn’t be left in the oil for longer than 4-6 weeks. Dry herbs can be left in the jar until they are ready to use.
- Using a fine mesh filter lined with cheesecloth, filter the herbs from the oil into a separate glass jar.
- If you used fresh herbs, allow that oil to sit covered with breathable barrier again for a day or two. After that time check the bottom of the jar to see if any water has collected on the bottom. If so extract the oil from the top of the jar, leaving the water with a thin layer of oil on top to be discarded.
- Decant your finished oil into a cobalt or brown colored jar to protect from UV damage, or in a mason jar and stored in a cool, dry, dark place.
- You can add some vitamin e oil to help extend the shelf life. You can also add a few drops of myrrh or rosemary essential oil to extend shelf life and protect from rancidity.
Herb infused oils need to be stored with a tight fitting lid in a cool dry place out of the light. If they are stored properly, the can last as long as the oils expiration date. Be sure to label your oil with the date you made it so you know when its shelf life will end.
Hot Oil Infusion Step-By-Step
Infusing herbs into oils with heat takes less time, reduces the chances for fresh herbs to turn the oil rancid or moldy, and extracts more volatile oils and color. It is a good choice for a quick project if you just don’t have the time to wait for the cold infusion method. I find it to be simpler, and easier for beginners who really enjoy the instant gratification of a job well done.
Ingredients:
- Heatproof Mason jar, Pyrex bowl, or double boiler.
- Oil of choice
- Herb of choice (fresh or dry)
- Double boiler or old pot you won’t use for food any more (I use our old non-stick pots that I refuse to cook with any more)
Directions:
- Place the herbs in the sanitized jar, bowl, or double boiler as you would in the cold method.
- Pour oil in the jar as you would the cold method, being cautious not to add oils that denature easily in heat like rose hip seed oil – that can be added later after the infusion into the predominate fixed oil is complete.
- Add water to your double boiler or old pot, about 1/3 up the pan. You want to be sure that when the jar is placed in the water, it has water up the sides, but you don’t want any water to come into contact with your oil.
- Place the double boiler or old pot on the stove and turn the stove on low. The water should be steaming but not simmering or boiling. Ideally, you want the water under 170 degrees. Some people can do this in crock pots, but mine runs way too hot, even on low, and burns the herbs, so I don’t use this method.
- Place the jar into the water, being sure no water will get into the jar/bowl. Double boilers don’t have this problem.
- Allow the jars to sit in the warm bath for 12-24 hours, being sure the water never runs low, as that can crack the jar and destroy the herb, and never gets too hot, again avoiding burning the herb.
- Allow the oil to cool to room temperature and strain and storing as described above.
